Newsletter: September 23
Hi everyone, and I cannot believe we’re here again-September has gone so fast! It’s been a really busy month for me and I’ve definitely taken a bit of a social media break; partly deliberately and partly because we’ve been travelling around visiting family and friends and having them here too, so posts etc… just didn’t happen….I honestly started off feeling a little bit anxious about it; a tad guilty even, but realised that’s ridiculous, and that I really needed to let go and give myself a break! The only down side really is that I haven’t managed a lot of studio time, so the time I did have was focussed on developing the moorland paintings I’d been working on, rather than starting on a whole new body of work.
In amongst all this, we had a trip down to Dorset to deliver a whole bunch of work…I’ve been exploring options for galleries in the South of the UK, and I’m absolutely delighted to be working with the very smart and prestigious, Jerram Gallery, which has a wonderful stable of artists, and is in the heart of lovely Sherborne, and online.
The work will be on show soon in person and is available now via their website! I would love you to take a look by following this link: My Page at the Jerram Gallery
The collection represents works from the last year or so; all made slowly in a great many layers and focussing on conveying the feeling of being in some of my very favourite landscapes, both up here in North Yorkshire and further afield.
There’s something so exciting about getting ready for an exhibition!
…but so much needs to happen behind the scenes before the work even reaches the gallery!
By way of a little insight into this process, and also because I know a lot of you who read this newsletter, are emerging artists…the following is my checklist:-
Make a definitive list of all works to be delivered or shipped, including titles, sizes, medium and some background into the work, then do the following…
Sign each piece. It’s good practice to sign in the same way, and in the same sort of position each time to create a consistency which becomes your distinctive way of presenting work. I always sign somewhere unobtrusive and bottom right, using paint in a colour that’s been used in the painting, so that its part of the paint layer.
Check each piece over carefully; is there anything that needs touching up or other attention? Check the sides are neatly painted…I tend to paint mine in a dark Paynes Grey or similar, which adds to the shadow effect in a floater frame. Some artists like to continue their painting over the sides, matching the colours, and others like to use a bright feature colour. Whichever you decide, just make sure they are crisp and clean. I usually frame work, but some ultra deep canvases look great as they are, so this is especially important if you’re choosing not to frame a piece.
If the work is in oils allow plenty of drying time, which is longer in cold weather/ in winter. I work backwards from when I know work is needed in a gallery, and try to make sure I build in plenty of drying time, factoring in time for framing and varnishing too.
Photograph work, using daylight or studio lights, and crop the images tightly to show the work and no background. Add some ‘in situ’ shots either by photographing the pieces in your home or outside or by using an App like Smartist or Canvy.
When the photography is complete, seal and varnish or wax the work, so it has an attractive and above all durable finish. I tend to use a self levelling medium, following by a coat of cold wax, which can be buffed up to create a warm glowing finish or alternatively several coats of varnish.
Check the backs of each painting. Personally, I don’t mind the backs being a bit messy as they tell the story of the way the painting has been made, but I do always check that I have added the title onto the stretcher bars, or cradle strips on a cradled panel. I also sign the back too, and add a business card, plus a certificate of authenticity. You can find blanks online, or design your own-they just need to confirm that the work is an original painting created by you the artist, ( or an edition if it’s an artist print), and they normally include medium, size and date created. I also add that the work may not be reproduced without my permission, as the Intellectual Property ownership resides with the artist as creator of the work.
Work with your framer to select appropriate frames-most artists tend to have a consistent framing style, which is very helpful when showing a range of work together. You can also order frames online, and frame work yourself. You’ll need a few basic tools and it helps to work in standard sizes-this can be a great idea for smaller and less expensive pieces, as it obviously helps to keep costs down.
Create a consignment list. This is a clear document that includes a thumbnail of each work with the information above, plus a delivery date-this is your record of the work that you have delivered or sent, so is really important for your records. I usually have two copies; one to leave with the gallery for their records, and the other which they sign and date, and I keep. Normally there are no issues at all, but this is an important safeguard, just in case there is any future argument about exactly what you’ve dropped off and when.
Finally I’ll pack the work-in this case I was delivering it myself, so I slipped each one into a ‘stiffy bag’ ( I use this supplier, but there are several out there: Stiffy Bag Supplier with card board corners on the frames for extra protection. *If I’m using a courier, there is a lot more packing to do-but more on that another time.
As a lot of you know, my work is all about layers, and I get a lot of questions about building those layers; especially with glazes, so the following is a very short video, which explains a bit about the process, with a few tips and tricks for using them. Hope it’s useful!
Short video about using glazes in acrylics…studio tips and tricks.
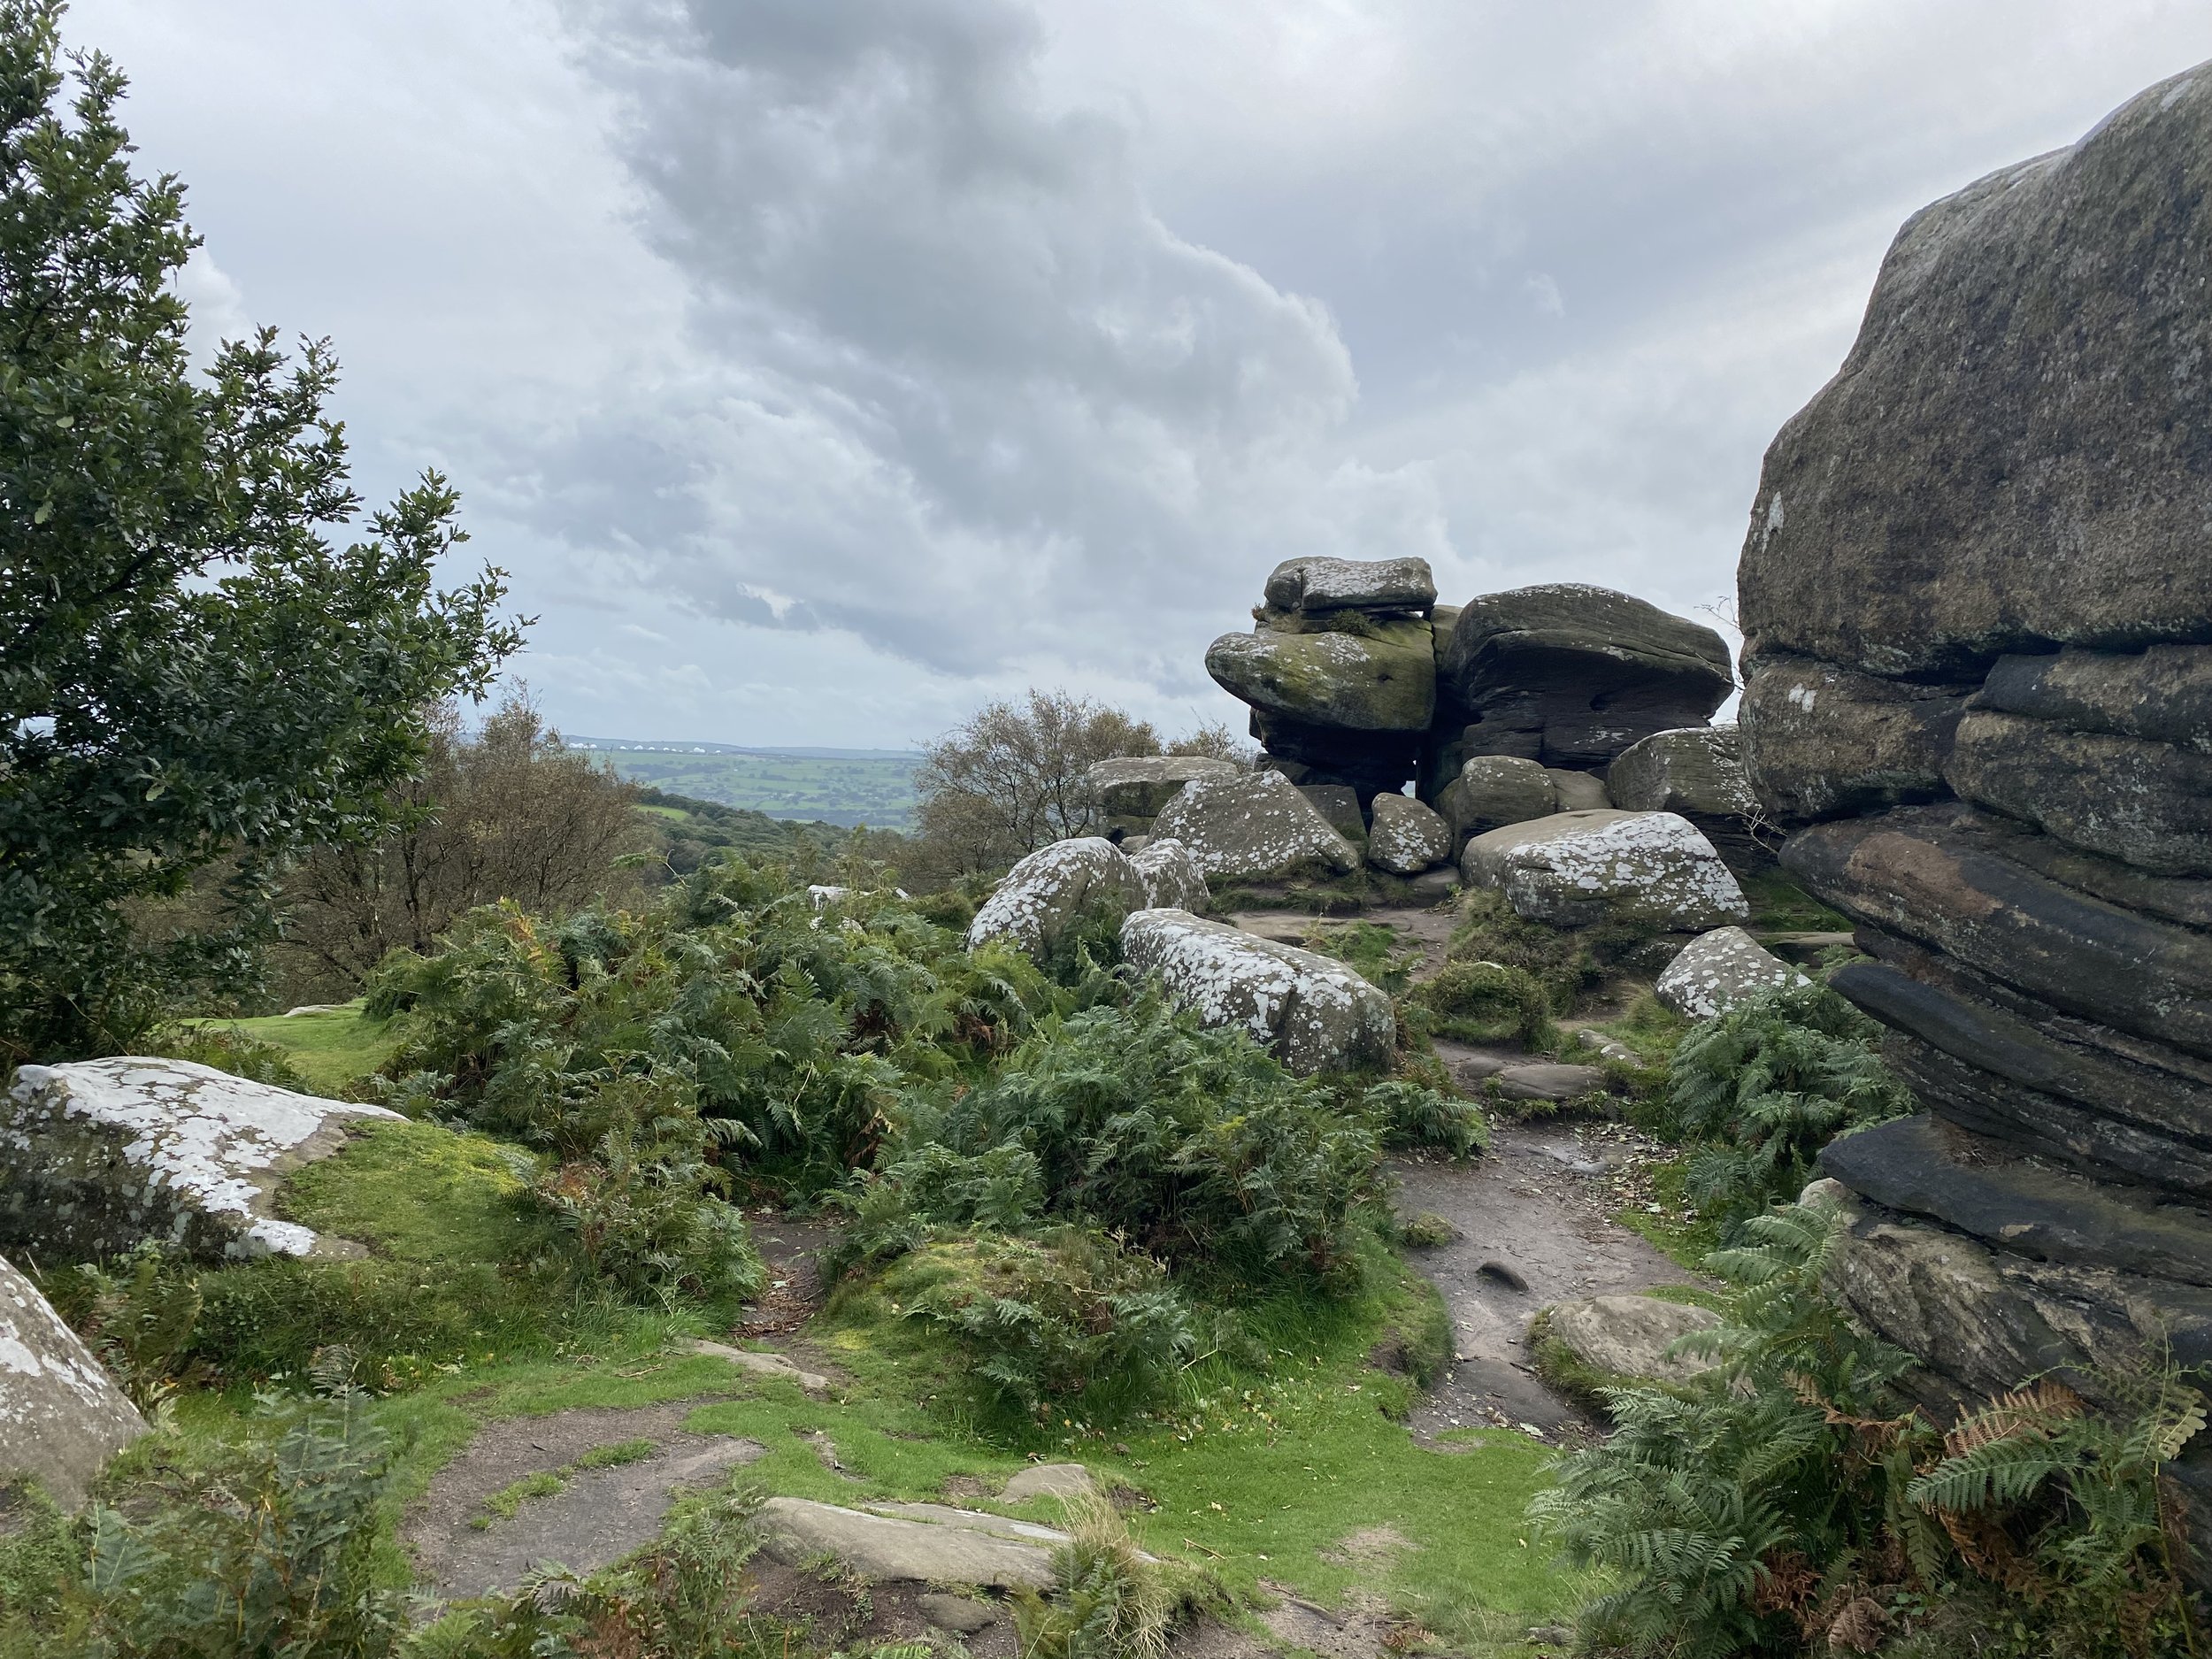
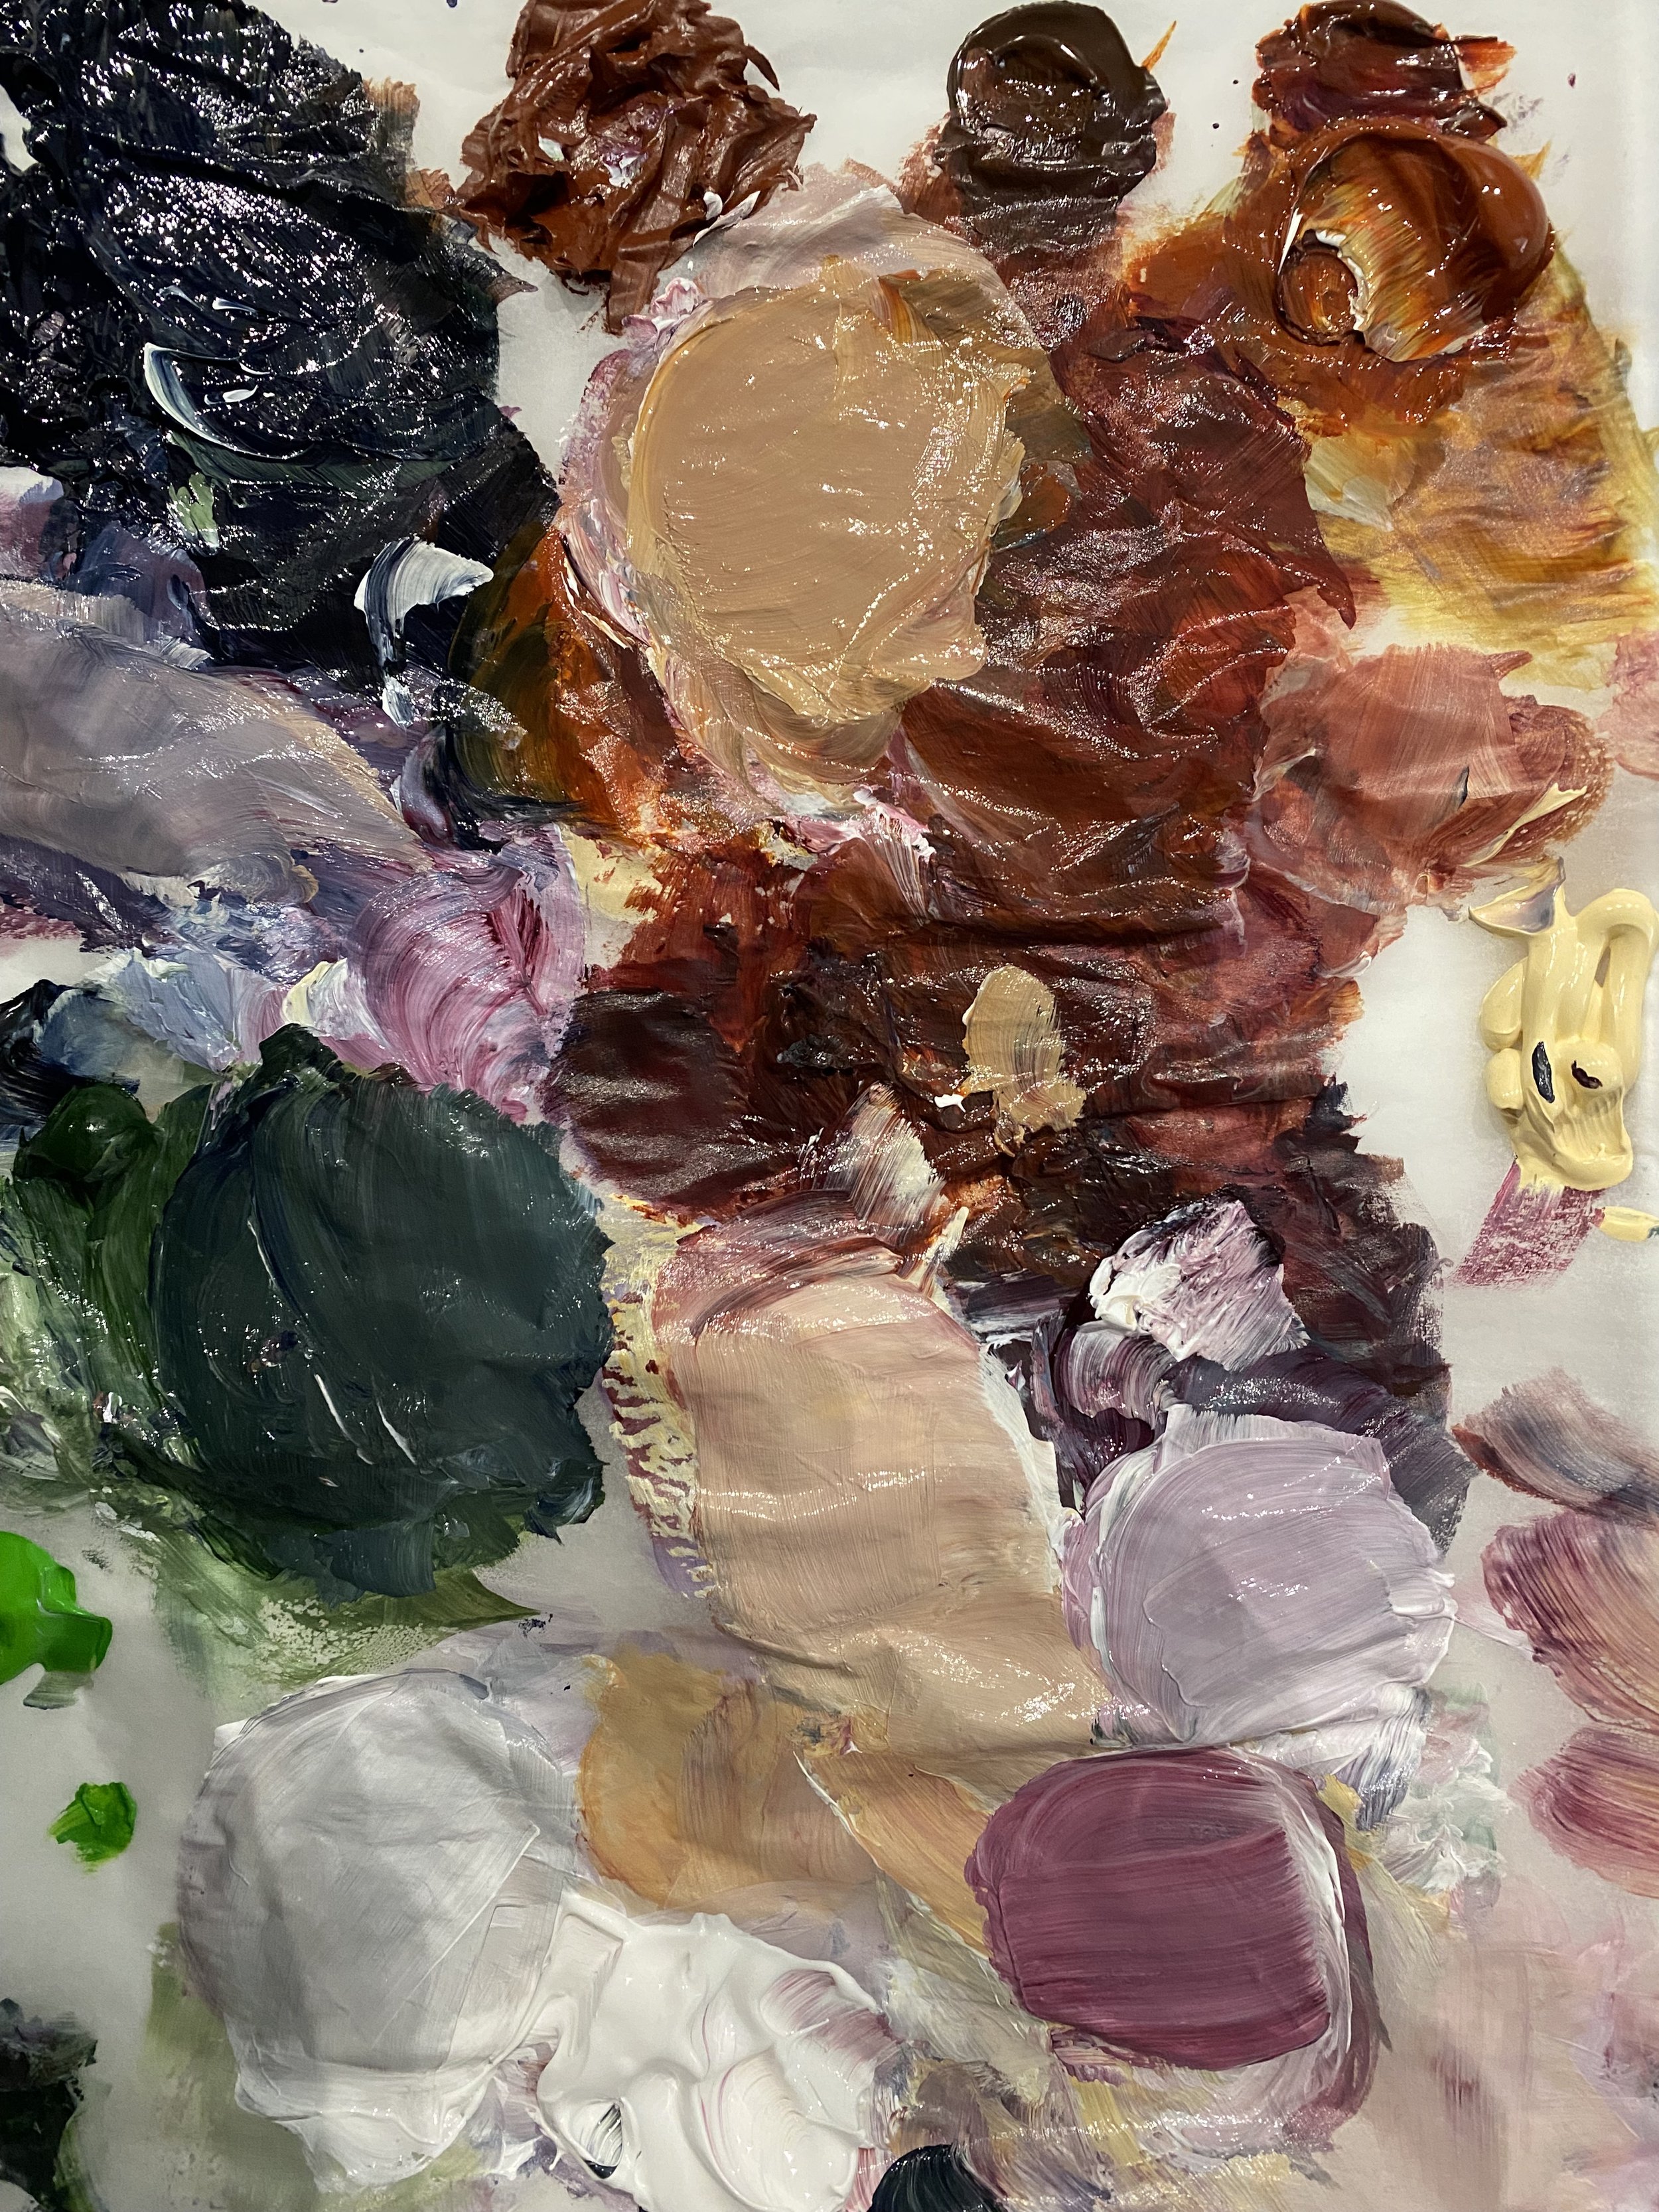
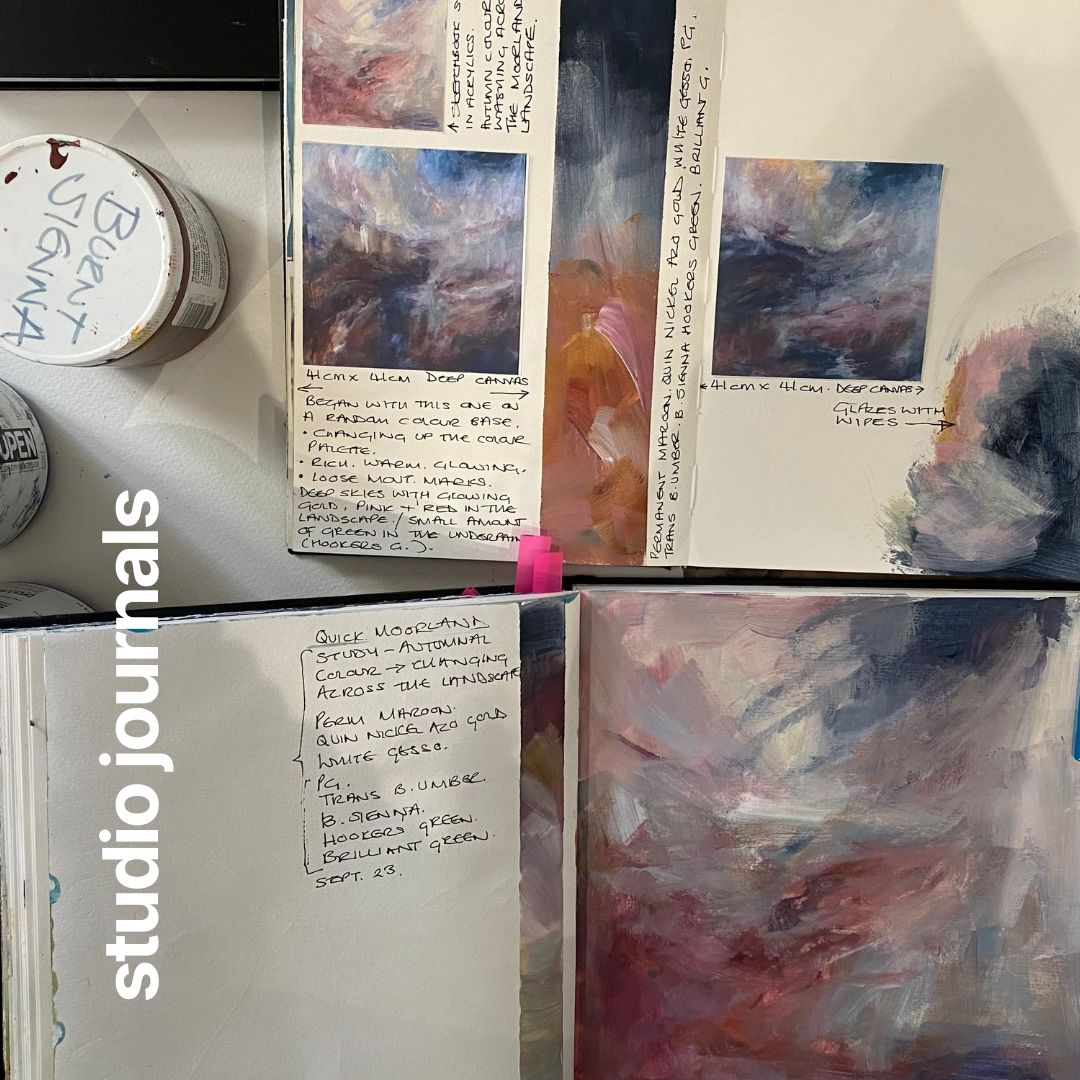
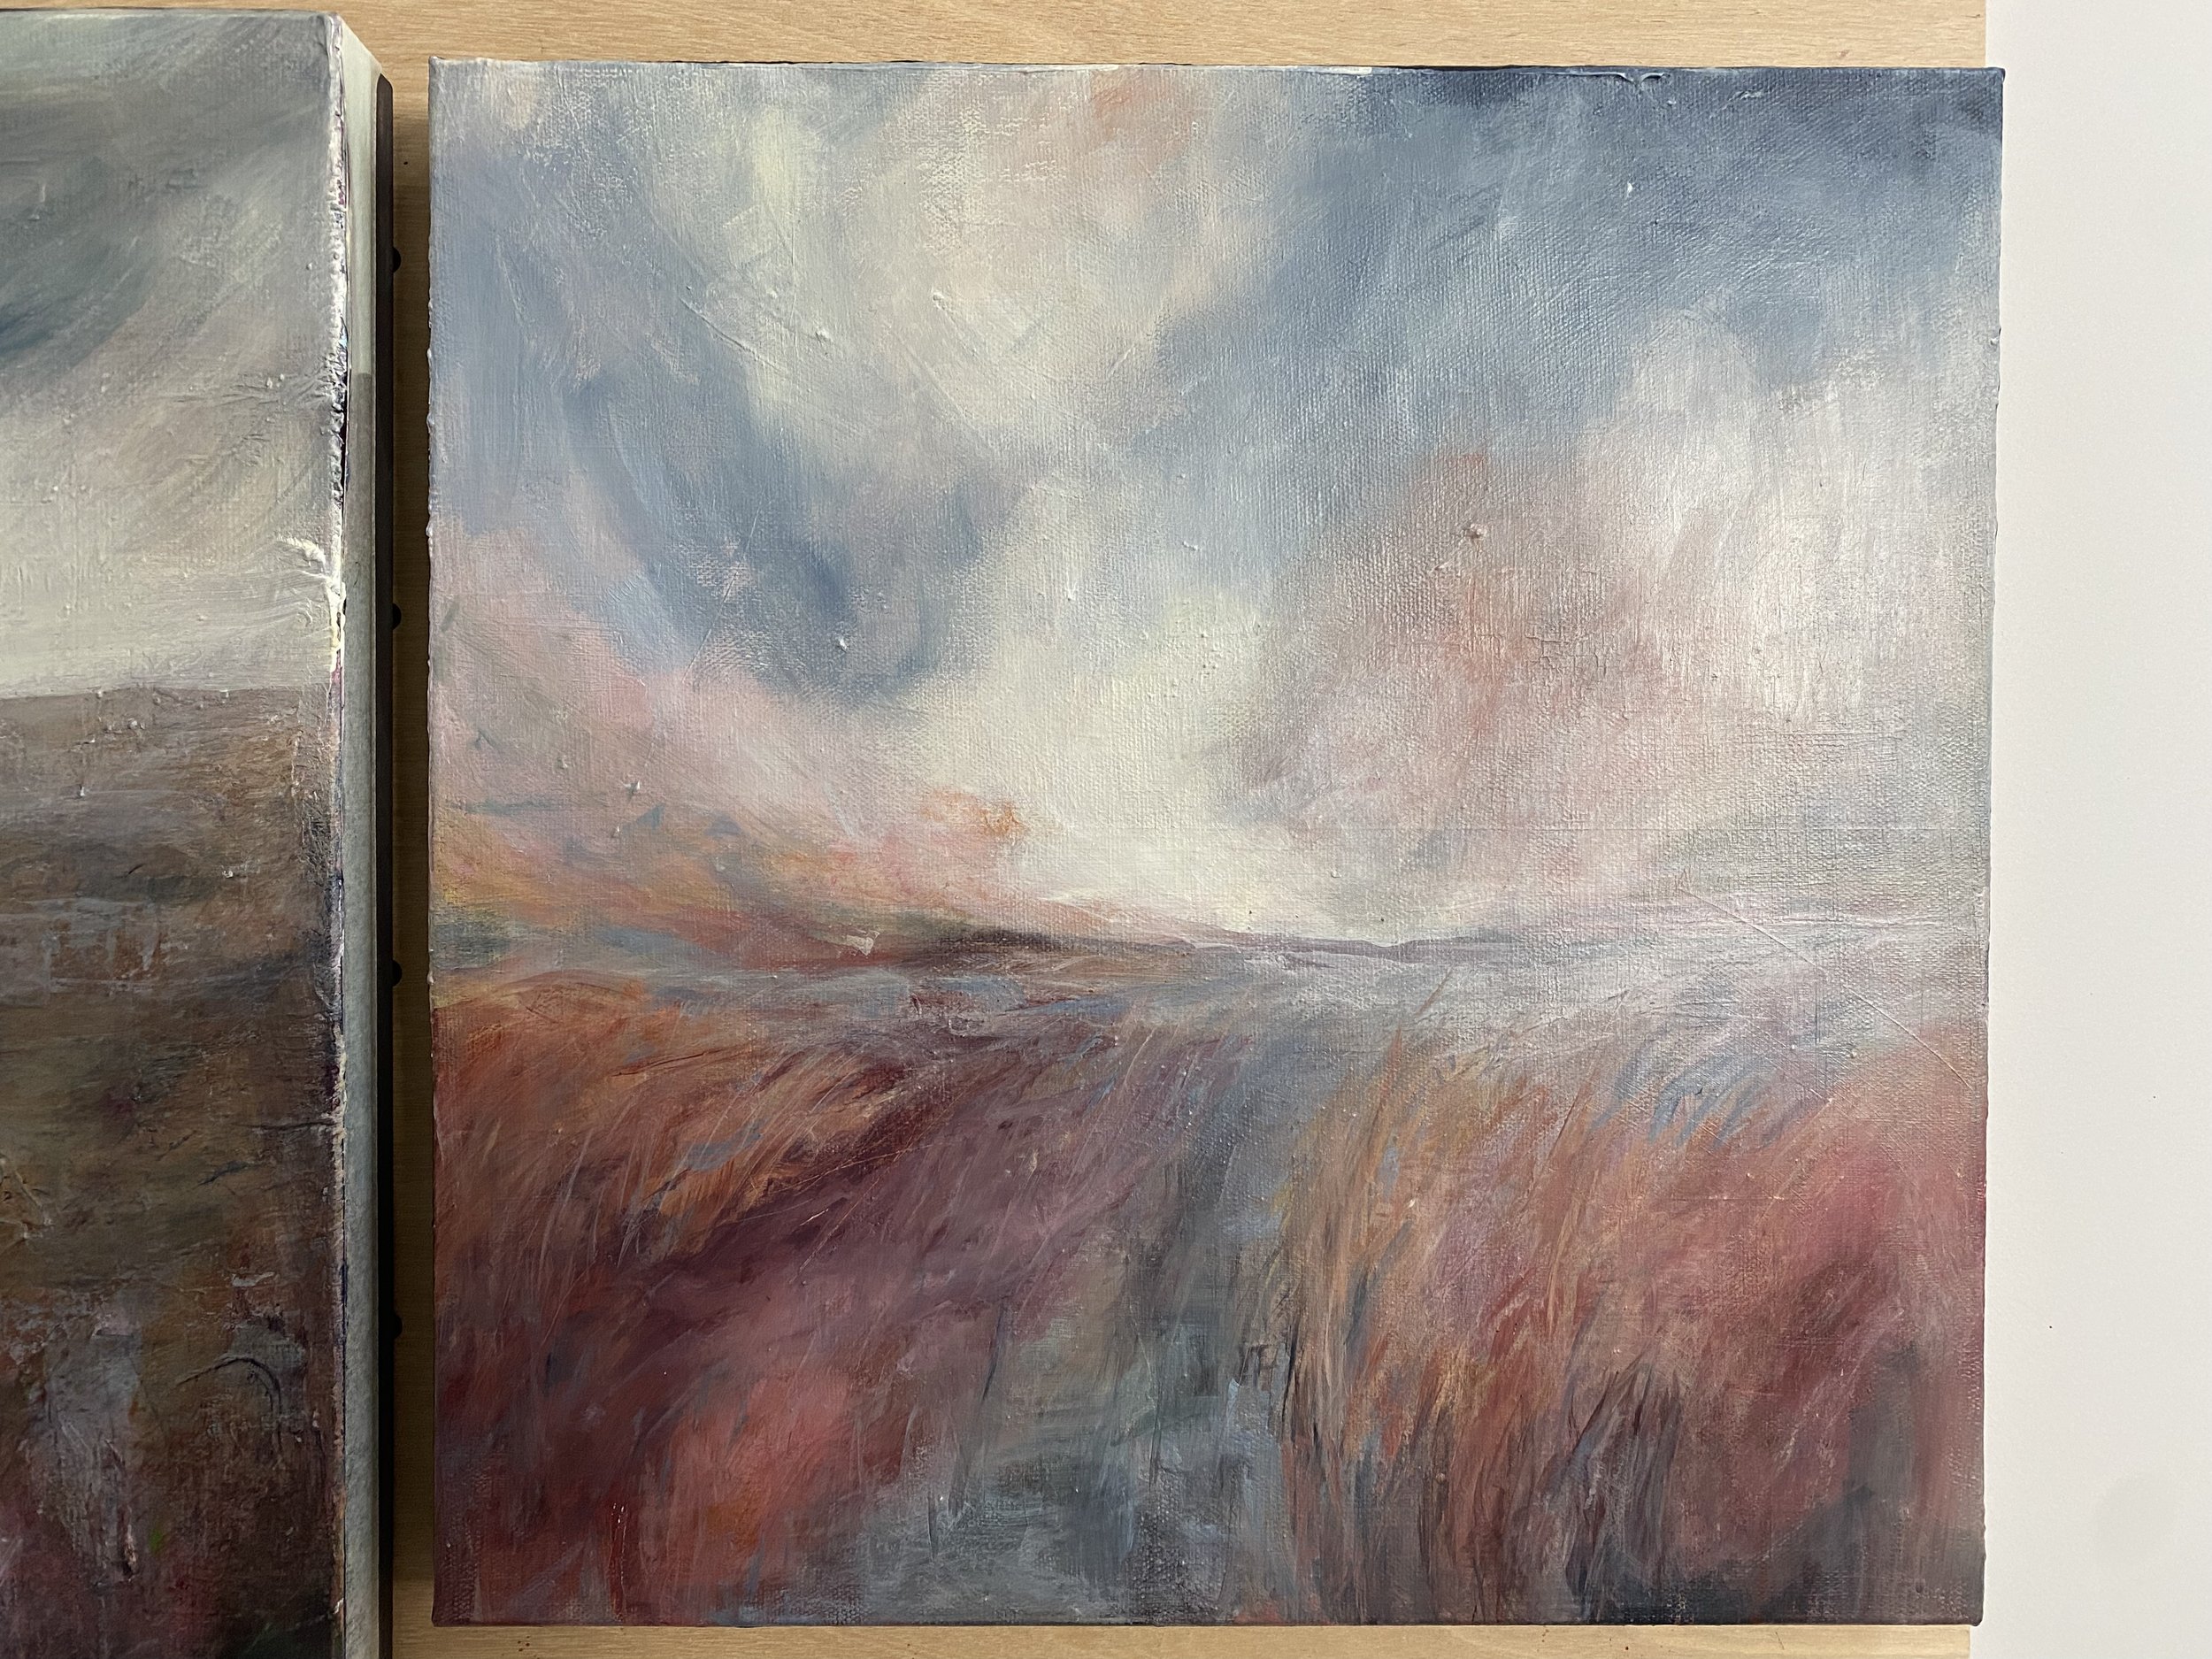
On the theme of layers, I mentioned before that I’ve been working on some more moorland paintings…carrying on with some of the ideas I’ve been working on. The colours up here are definitely changing, so they’re reflecting some Autumn colour and light.
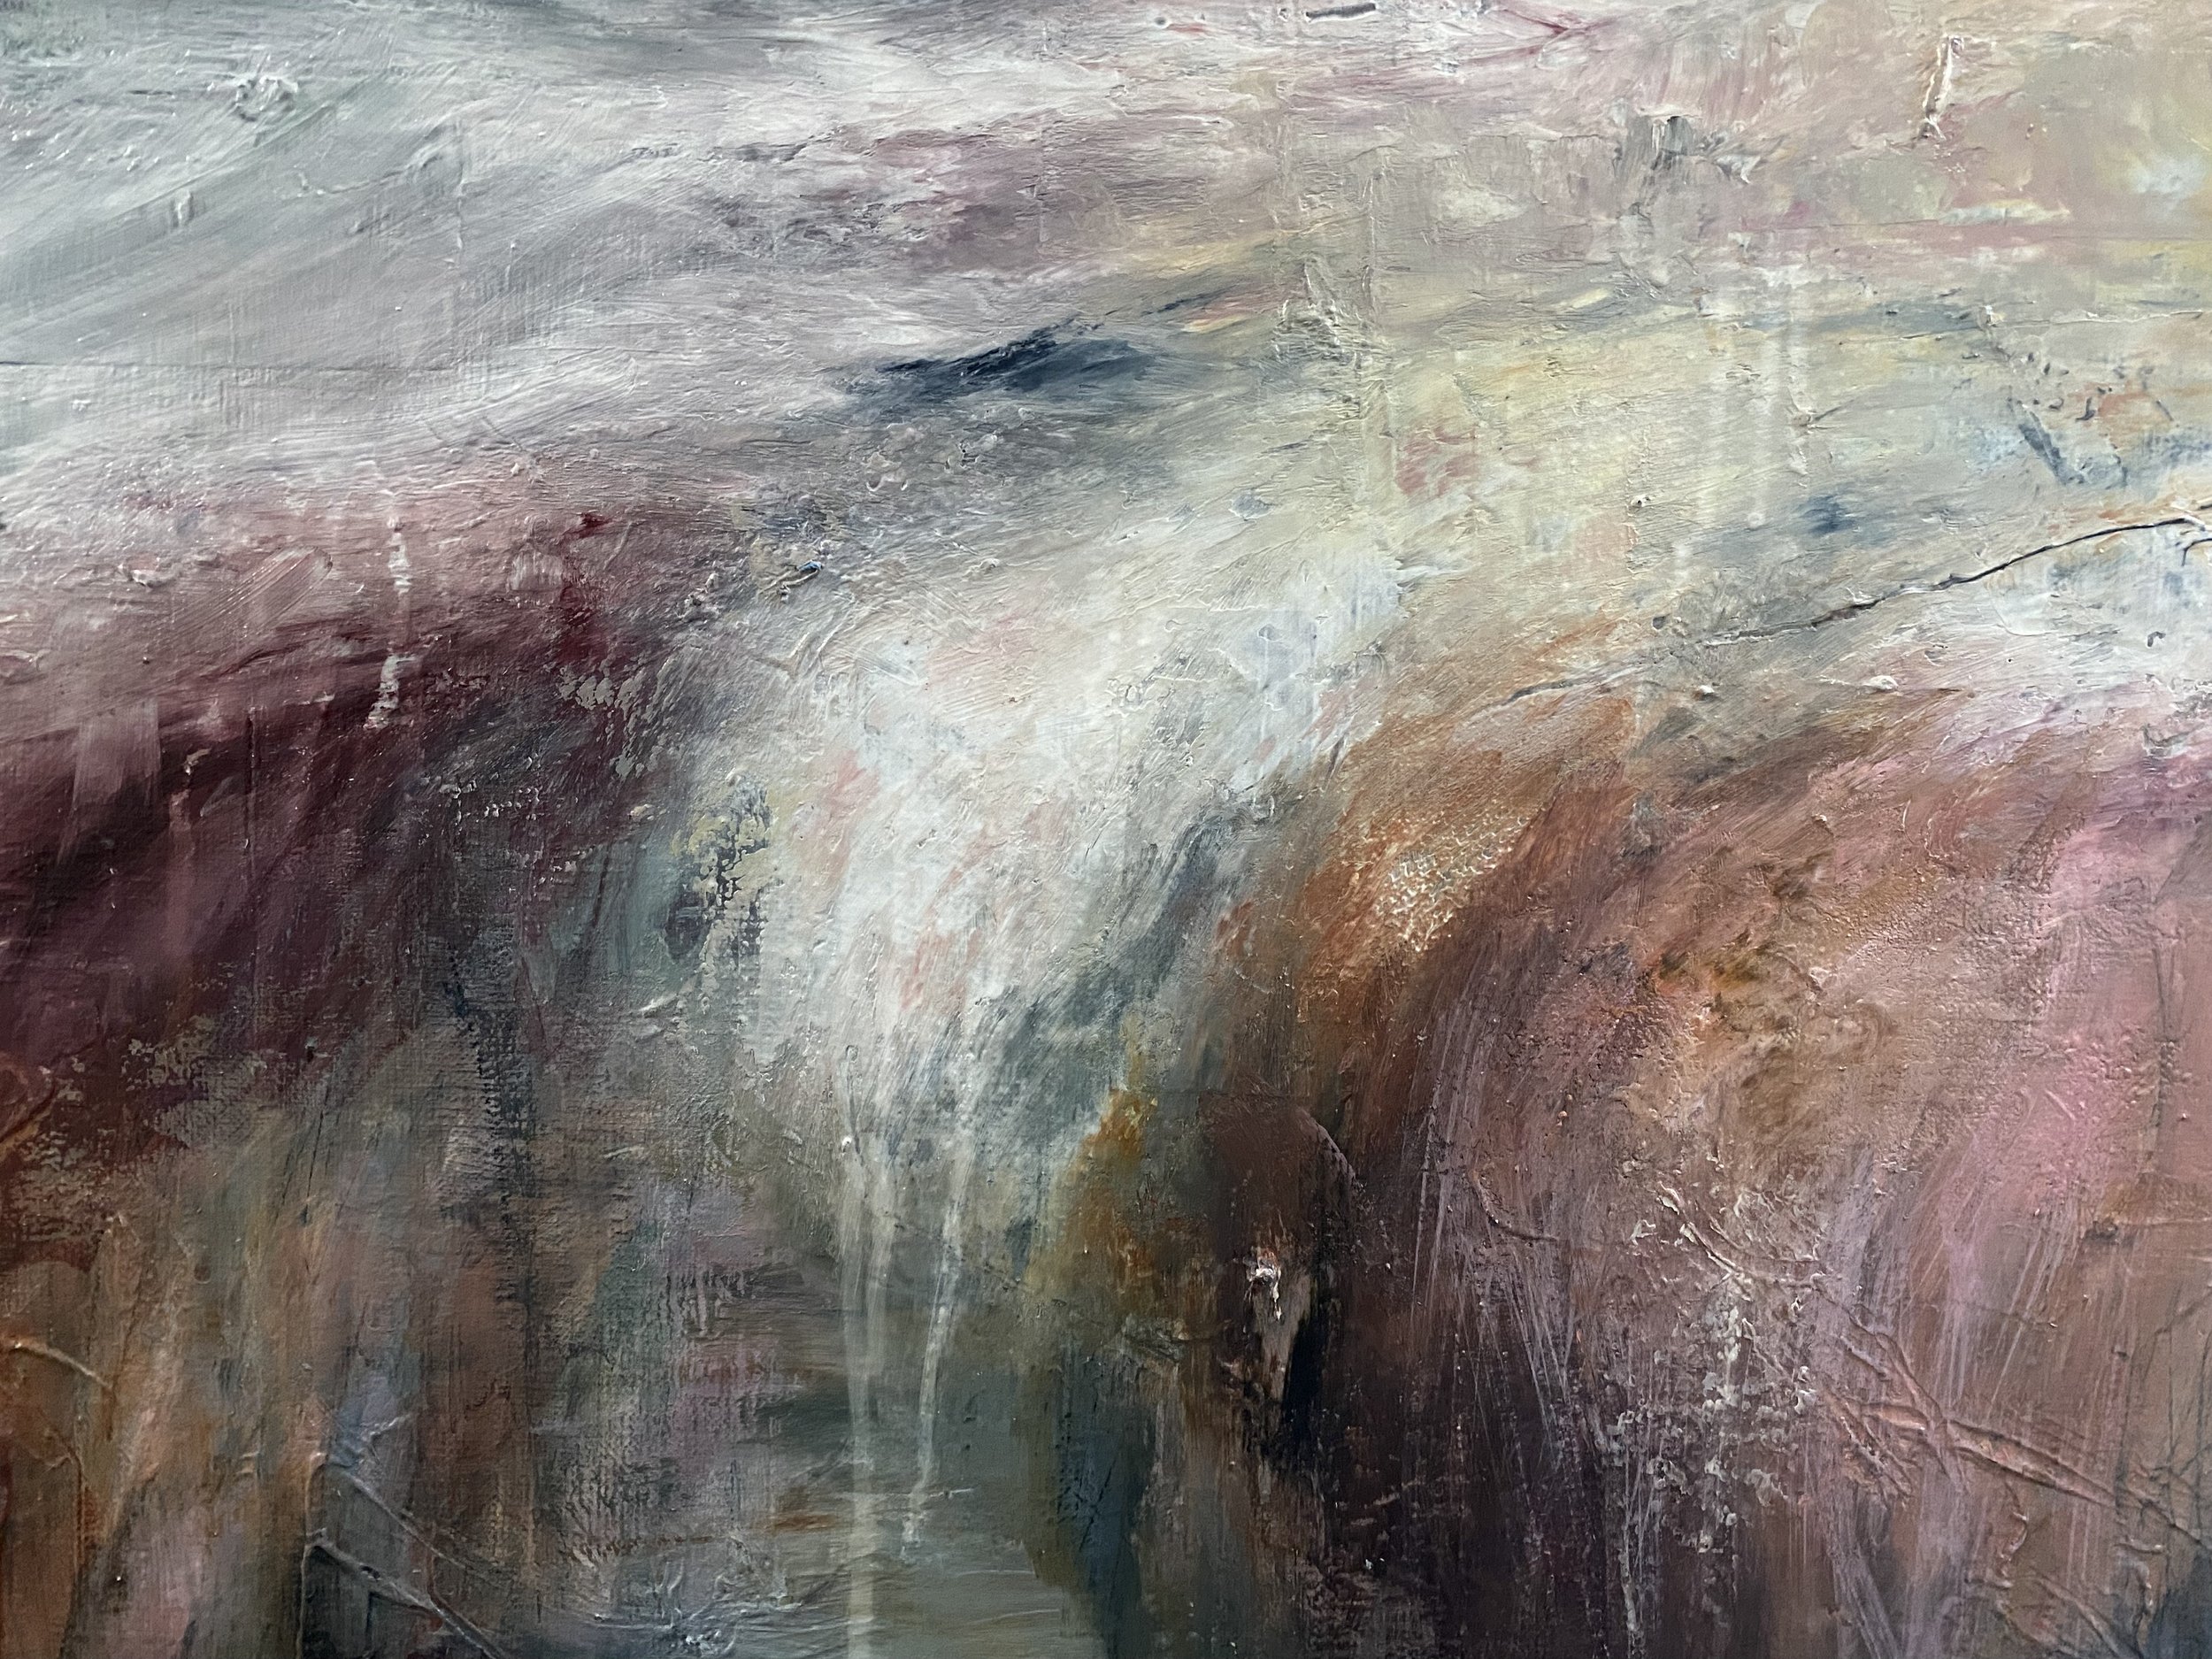
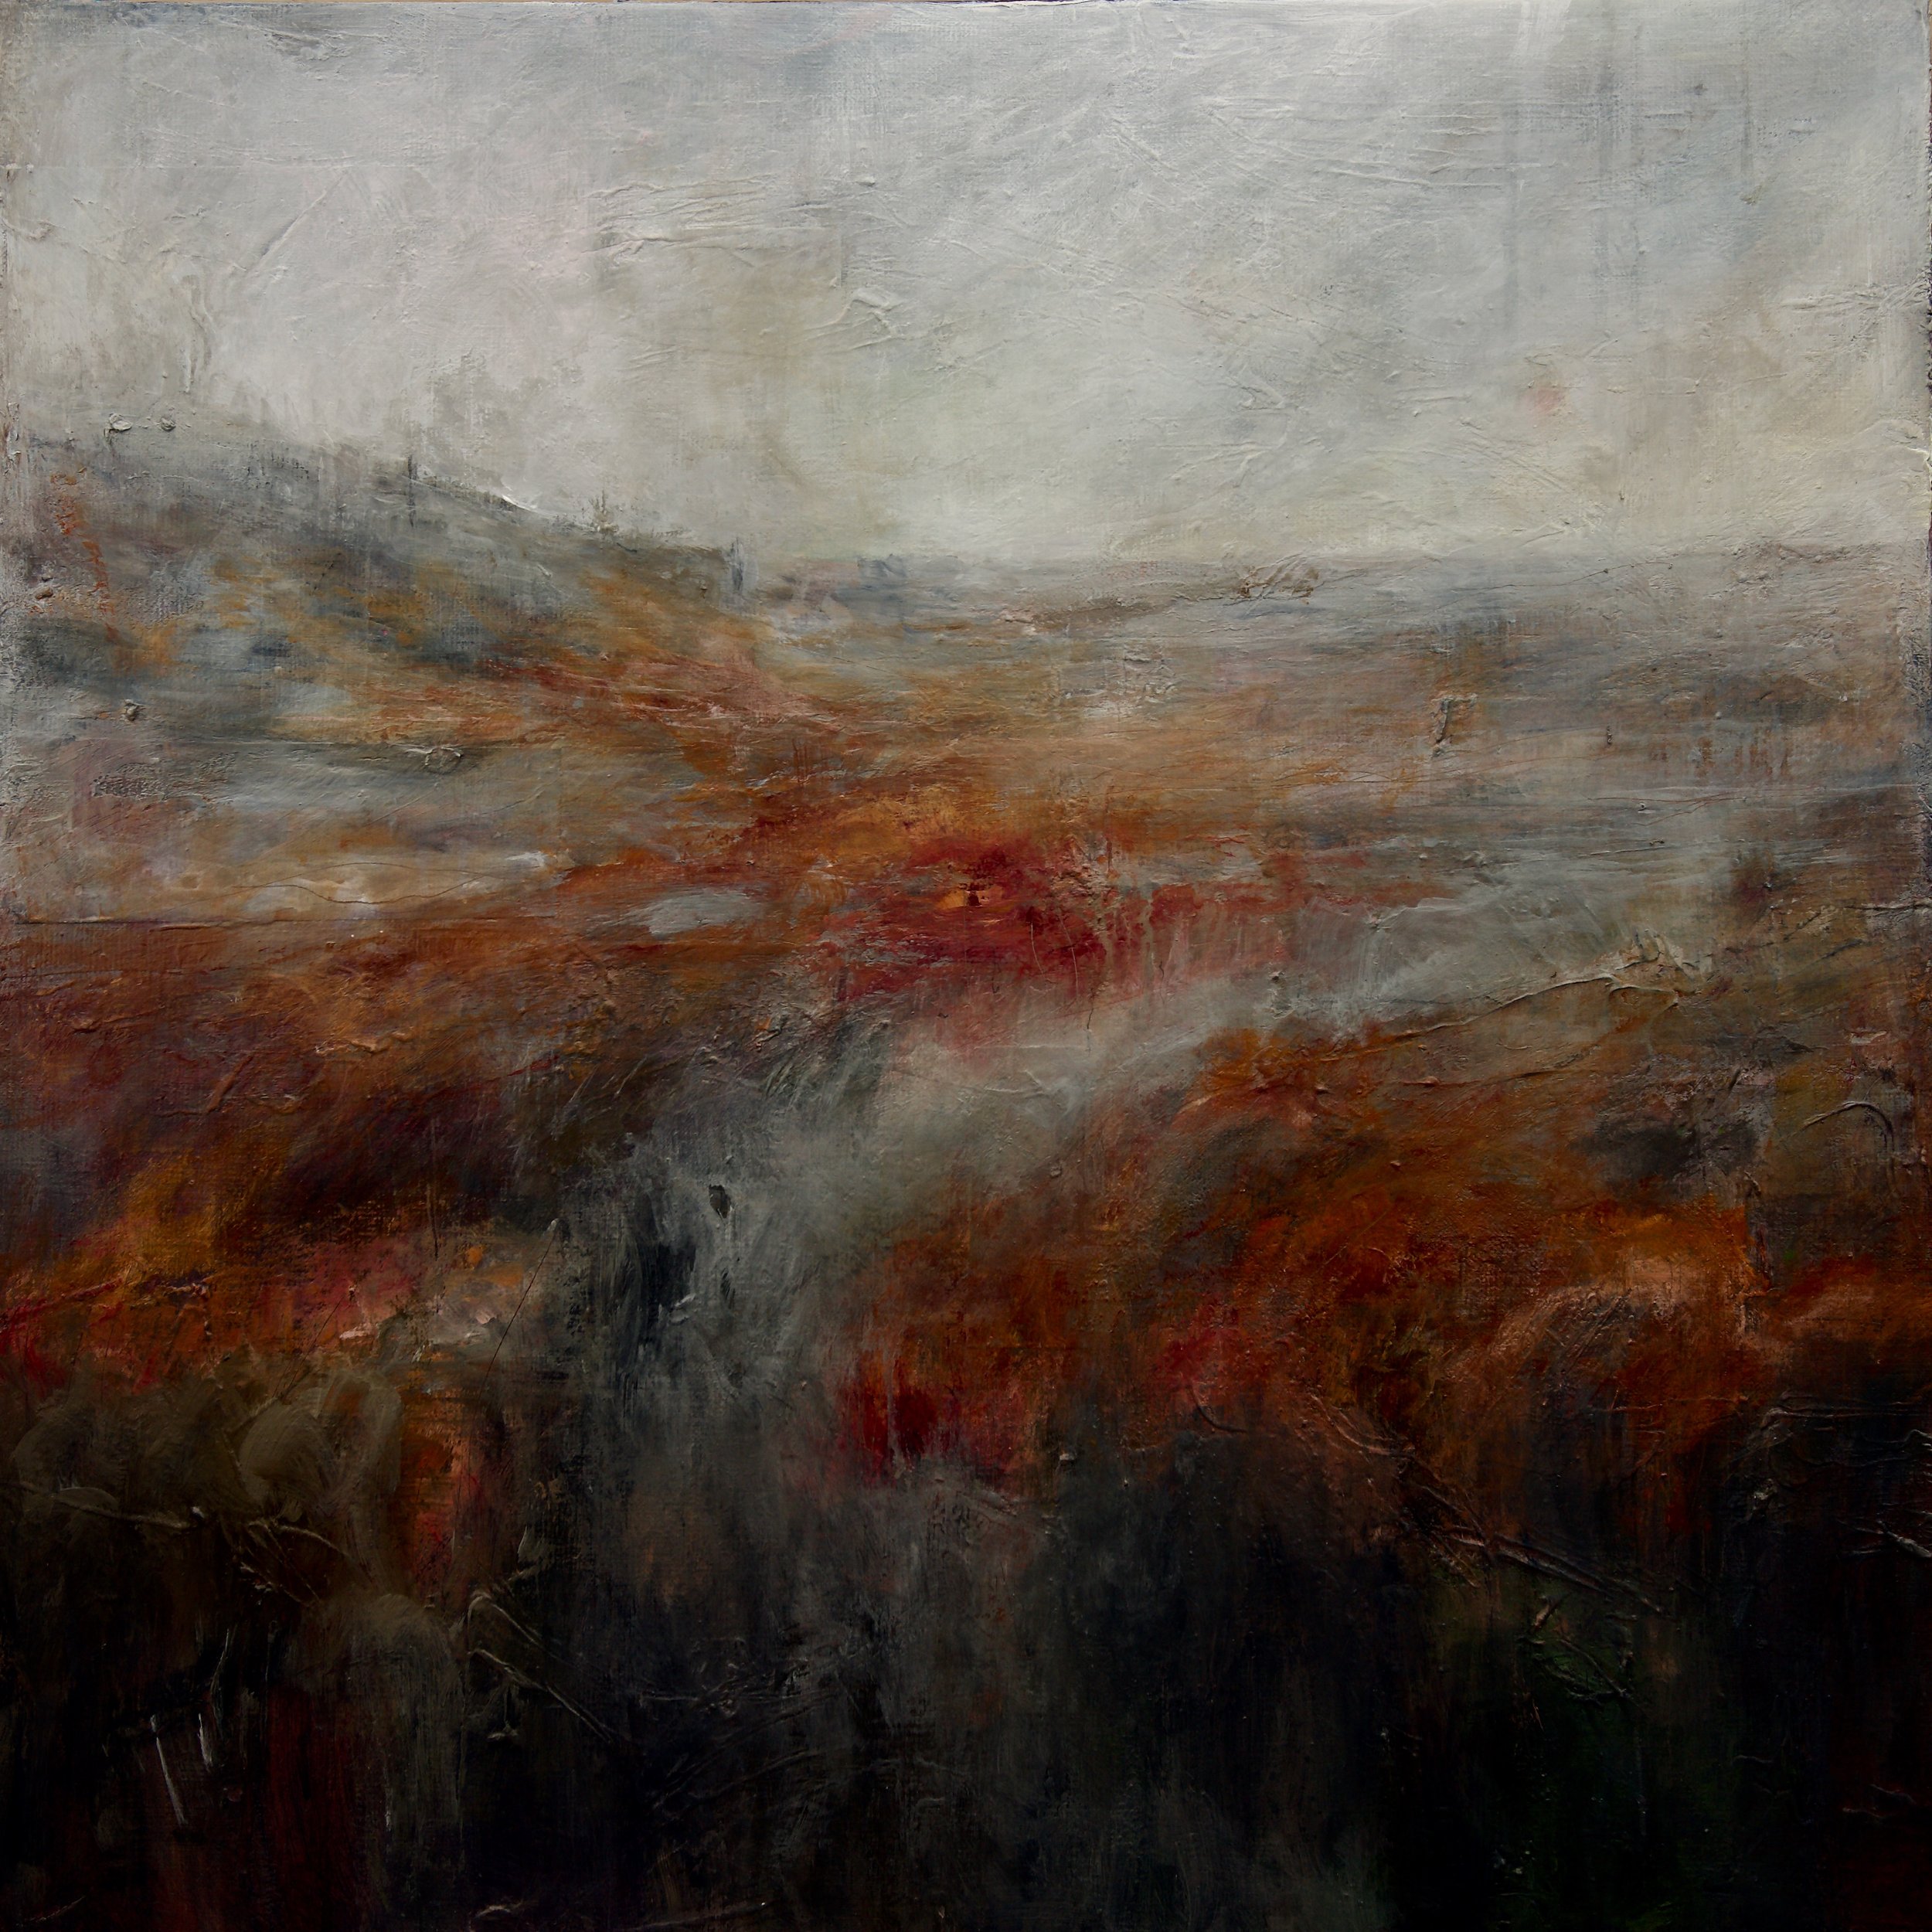
The images below show some ‘in process’ shots, and the large image is the first to be completed.
The painting above is the first to be about there-I might still make a few tweaks, but I love the autumn colours and rich tones.
It’s so newly done, I haven’t named it yet, but it’s 60 cm square and made in so many layers with a slightly textured finish. It has three companion pieces which I’ll show next time, and this one will be coming to my website soon, so do let me know if you would like to grab it first!
A lot of you have been asking about the course I’m running next year at The Lund. This one is over three days, and designed to build a personal response to landscape, using a wide variety of techniques, especially in acrylics. If you think this might be for you, do head over to their website where you can find all the details, and loads more about places to stay etc…but please don’t delay as their courses do book up really fast. This is the link to their website to find out more and for bookings: My course at Lund Studios: find out more
Please watch out for this fake account!!
I would be so grateful if those of you who use Instagram, could please block and report this fake account. Whoever has produced it has stolen some of my photos, including of me and my work and set up this fake account…The fake account is: @jo_yorkart there is no hyphen in my account name.
I have only one Instagram account which is: @joyorkart
I’ve reported it multiple times, and thanks so much to those of you who’ve done the same, but Instagram has still not taken it down.
It makes me very angry, so I will keep trying!
Well I think that’s just about it for this month
As always, I hope you’ve enjoyed my newsletter, do send me any queries or suggestions for things you’d like me to cover in the future, and don’t forget to check out my 3 day course next Spring; perfect post winter pick me up!
Until next month, keep in touch, take care and have a happy and creative time!
Jo xx
All content, text and images ©Jo York 2023
